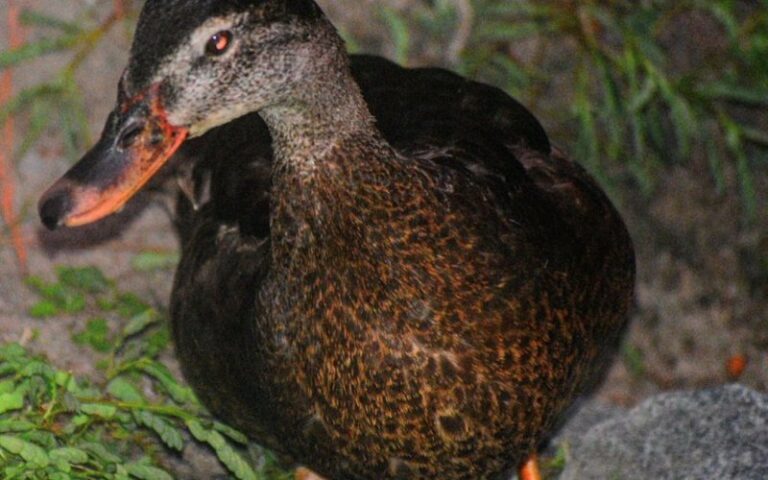
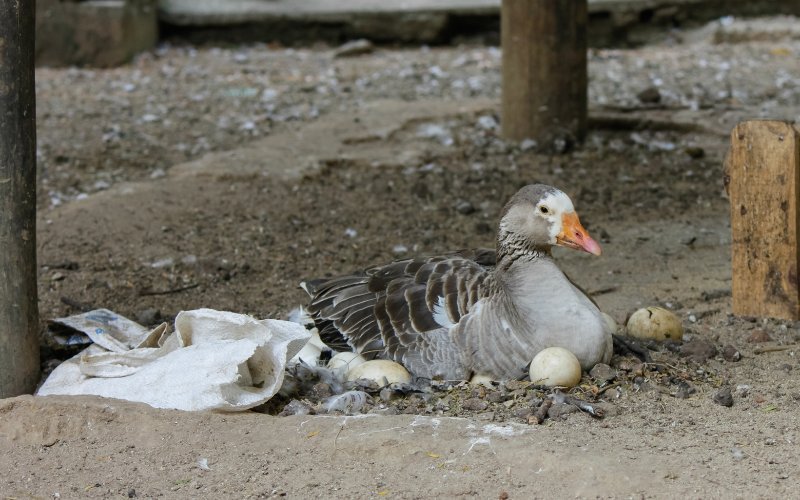
Duck Egg Hatching Problems (28 Days and Nothing)
Hatching duck eggs is similar to hatching any other type of egg. You need the right amount of warmth, the right humidity, and a clean place to keep the eggs while new life forms inside of them. In the wild, a mother duck would take care of these things. If you are attempting to hatch eggs with domesticated ducks or with no mother duck there are many more things you will need to pay attention to for the eggs to develop and hatch successfully.
Common Causes of Duck Egg Hatching Problems (The Short Answer)
The most common cause of unhatched duck eggs is a lack of ideal incubation conditions. This can lead to an increased need for time for incubation or it could result in a duckling not fully forming within the egg. The egg will then turn dark and begin to rot. This darkening can be difficult to see without candling the egg.
Duck Eggs Not Hatching Day 28 – 30 (9 Possible Reasons Why)
There are a handful of reasons why a duck egg will not hatch even after 30 days of incubation. Most of these reasons, however, will have to do with a lack of egg fertility or a problem that occurred during the incubation period. Below is a list of reasons why your duck eggs may not be hatching even after 28 days.
Old Eggs Result in Longer Incubation Times
The average incubation time for any duck egg should be around 28 days from the first day they are warmed up consistently. This warming can be from a mother ducking choosing to settle on the nest or the eggs being placed inside of an incubator.
Improper Temperature Resulting in Longer Incubation Times Or Non-Viable Eggs
The leading not-irreversibly-harmful cause of duck egg-hatching problems would be a temperature that is just a bit too low because of a faulty thermometer or poor placement of the thermometer when hatching eggs in an incubator or if eggs are hatched outdoors and out of season. If this is the case, the incubation process will be successful but may take up to 35 days. Always candle your eggs if they are not hatching to see if they are still alive.
Low Humidity Resulting in Dry, Non-Viable, Or Struggling Eggs And Ducklings
One of the most common duck egg-hatching problems is a lack of knowledge of how important humidity is to healthy duckling development and hatching. If the humidity in the incubator is a smidgen too low, say 5 to 10%, then the eggs can take an extra handful of days to hatch.
If the humidity is much lower, lower than 25% during the entire incubation process, it’s likely that your eggs will dry out before they get a chance to develop, let alone hatch. Eggs contain quite a bit of moisture and, even with high humidity, will lose about 14% of their weight in moisture during the incubation process. If they lose much more than this, even if any ducklings do successfully form and survive, they may not have the strength to hatch on their own.
Failure to Turn the Eggs
Hatching eggs must be turned often. Failure to turn the eggs, by an incubator, human, or broody duck, will lead to improper development or failure to develop altogether.
Infertile Eggs
Not all eggs will be fertile, even if you have a drake in with your ducks. Candle your eggs often to check for fertility. If eggs are consistently not fertilized, there may be a problem with the drake or your ducks may be too stressed to lay viable eggs.
Damaged Duck Eggs (From Shaking, Vibration, or Impact)
While it’s obvious that dropping a duck egg will lead to that duck egg not hatching by day 30, shaking and vibrations can have the same effect. Do not place your eggs or incubator anywhere where they may be jostled suddenly or where they may experience long or intense vibrations. Do not keep your incubator on top of the clothes dryer, for instance.
Eggs That Have “Something Wrong With Them”
Sometimes you will have a duck that seems fantastic or that is otherwise fantastic but she lays eggs that never work out. This happens. Not all ducks lay viable eggs. Further, not all eggs will remain viable even in the best conditions. Even if all seems well for the first week, some eggs won’t work out. In a natural situation, a mother duck would roll these out of the nest without a second thought.
A Dirty Environment
Bacteria is a big problem for hatching eggs. A wet, moldy, or bacteria-infested environment can lead to duck egg-hatching problems within hours.
Weak, Deformed, or Ill Ducklings
Even if a duckling is fully formed and has begun to break out of its shell or “pip”, it could still fail to hatch completely. If a duckling is struggling to move or stops attempting to break the shell for a full 12 hours, you can attempt to intervene.
If intervention is necessary, keep in mind that ducklings in this position do not typically survive as failing to break out of the shell at this stage is almost always an indicator of a larger problem.
If you do choose to intervene, gently peel away a small chip of shell at a time. Do not remove large sections all at once. If you see any blood, stop immediately. This often indicates that the duckling is malformed or otherwise compromised. Continuing to remove the shell from this point can cause it to die from blood loss.
Keep the duckling warm to encourage it to heal or break out on its own, but do not help if the duckling is progressing on its own.
What You Can Do If You Are Having Duck Egg Hatching Problems
If you have tried to hatch more than one clutch of duck eggs, but those eggs continue to fail to hatch you can try the following steps to improve your odds of success for the current or next clutch of eggs you incubate.
Keep the Incubator or Nest Clean
The importance of cleanliness when it comes to hatching duck eggs cannot be overlooked, especially if you are allowing a new mother duck to hatch her first clutch of eggs or have gotten a new or used incubator. Always provide a clean, dry nesting box filled with fresh straw or kiln-dried wood shavings to any broody ducks, and sterilize any new equipment, including incubators, trays, and any tools that will come into contact with your eggs.
All eggs are porous to some degree and hatching eggs in particular or susceptible to bacterial infection. This can cause even a fresh, recently fertilized egg to become non-viable in a matter of hours. When candled, these eggs will appear cloudy or milky around the spot where the fertilized embryo would be.
Set Up the Incubator Before Introducing the Eggs
To prevent any mishaps such as an incubator that is too hot, a broken bulb, or a failure to keep humidity levels consistent, allow your incubator to “warm up” for at least 2 days. If this is a new incubator or one you have not used before, be sure you practice opening and closing it completely and ensure you can set up any temperature and humidity monitoring equipment before purchasing or setting eggs into the incubator.
If you are using a thermometer that is not built into the incubator, remember to place it so that it reads the temperature on the bottom or lower half of your duck eggs. A temperature taken too high in the box can lead to the actual eggs becoming too cold to germinate well. Remember, heat rises and can keep the top of the incubator much warmer than the lower half.
Ensure That Your Mother Duck Is Staying on the Nest
While many ducks seem protective and broody when humans are around, sometimes they go back to their usual behavior as soon as you turn around. Using a wireless camera inside the coop or shelter can help you keep an eye on your mother ducks without being intrusive, keeping their stress low and allowing you to get a better feel for which ducks will make the better mothers.
Make Sure Your Duck Eggs Are Fresh and Fertile
Even if you have a drake with your ducks at all times and you have a small flock, you will likely only have 4 out of 5 eggs fertilized at best. This is common. These eggs should all be checked before being left in the nest or collected for incubation.
Further, the sooner you have a clutch of eggs ready for incubation, the better. Fertilized eggs that are left out for 5 or more days are about 5% less likely to hatch overall. Even if you have the freshest, fertilized eggs an average hatch rate is 1 in 4 or 75%, even for experts.
Candle the Eggs Every Week
The best way to monitor the health of your hatching eggs is by candling them. To do this, you only need a dark room and a bright flashlight- no actual candles are required. If the egg is healthy after its first week of incubation, it should have a bright pink to red color to it. The embryo will look “healthy”.
If there is no embryo or veining at all, or if the egg only looks dark when candled, the egg is no longer viable. This may be the result of a mistake during the incubation process, but it may also simply have been not a healthy egg to begin with at some level. Remember, only 1 in 4 eggs is likely to make it from day 1 to day 28. Unhatched duck eggs aren’t always your fault.
Monitor Heat and Moisture Levels Correctly
Heat levels should be a consistent 98.5 to 99.5F while humidity for days 1 through 25 should be around 58 percent. Humidity during the hatching window (days 26 and on) should be raised to 80 percent. Duck eggs in particular require high humidity to produce healthy, strong ducklings.
Don’t Forget to Turn Your Eggs
One of the most common mistakes for those new to incubators or new to keeping an eye on the nest of a broody duck is failure to track the movement of the eggs or to move the eggs in the first place. Always mark your hatching eggs with a pencil or wax crayon. Date them for when they were laid and mark one side with a line or dot to indicate if they have been rolled.
All hatching eggs, duck eggs or not, need to be moved during the hatching process. They can be moved automatically with an automatic turner in an incubator that is equipped with one. A broody duck with good instincts will also move the eggs once every hour or two.
If you are moving the eggs by hand in an incubator, do so as often as you can, ideally once an hour during the day. At night, try to rotate the eggs every 4 hours. If this is impossible, at least alter the position of the eggs every night.
For example, if you have drawn a dot on side “A” then you should leave this dot facing up on Monday night. Then on Tuesday night, this dot should be on the bottom, and side “B” Should be facing up. On Wednesday, it’s time for side “A” with the dot to face up again. Keep alternating until your eggs have hatched.